Project FAQ
What friends ask before they start
These are the questions we've been asked most often by friends considering their own projects, and the ones that caught us by surprise when we started our kitchen renovation.
How long does the whole process actually take from start to finish?
From the day you decide to renovate your countertops to the day you're cooking at a finished counter, expect 12 to 16 weeks if you're coordinating with other work like backsplash or cabinet refinishing. The countertop fabrication itself takes 6 to 10 weeks, but the prep work before that—measuring, templating, ordering—adds time on the front end. On our kitchen, we weren't realistic about contractor schedules and ended up with a 14-week timeline. The bathroom, where we built backward from the delivery date, finished in 12 weeks. Neither of us would recommend trying to rush it—rushing is how templating mistakes happen, and one mistake can add 8 weeks to your timeline while a replacement slab gets fabricated.
Is there a real difference between granite and quartz, or is it mostly marketing?
There's a real difference, but not in the way marketing usually frames it. Granite is a natural stone that needs sealing every year or two. Quartz is engineered stone that's mostly ground natural stone held together with resin, so it never needs sealing. Granite looks different every time—veining is completely random. Quartz has more consistent patterning, which some people love and others find sterile. Cost is actually comparable now; we paid about the same per square foot for either one. The honest answer is that both materials work beautifully if you pick one for reasons that match your actual life. We chose granite for the kitchen because we like the natural variation and didn't mind the sealing routine. For the bathroom, we went quartz because a smaller space made the sealing less of a hassle equation. Pick based on what you actually want to look at and what maintenance routine you'll actually do, not on what someone tells you is "better."
What edge profile should we choose, and does it really matter?
Yes, it matters more than most people realize. The edge profile affects how your countertop coordinates with your backsplash, how it handles spills (some profiles shed water toward the counter, others toward the floor), and whether seams are visible from certain angles. A bullnose edge is forgiving and versatile. A waterfall edge on an island looks intentional and catches fewer spills. A beveled edge hides backsplash joints beautifully. An ogee edge is decorative and works well with traditional cabinets. We chose different profiles for our kitchen and bathroom based on our cabinet styles and tile choices, and both decisions paid off when it came time to install backsplash. Don't just pick the picture you like best—ask your fabricator which profile coordinates with your other material choices.
Do we need professional installation, or can we DIY any part of this?
The template work and templating visit absolutely require a professional—this is not a DIY phase. The actual installation can theoretically be a DIY job if you're experienced with heavy materials and precise measurements, but the financial risk is enormous. A countertop costs between $3,000 and $12,000 for a kitchen, and a single installation mistake costs hundreds to thousands to fix. Templating is where most mistakes happen, and templating is a professional service for a reason. We watched professionals do our bathroom installation and it took them six hours for a space that would have taken us three days and probably resulted in damage. Pay for professional installation. Your money is better spent there than on rental tools and YouTube tutorials.
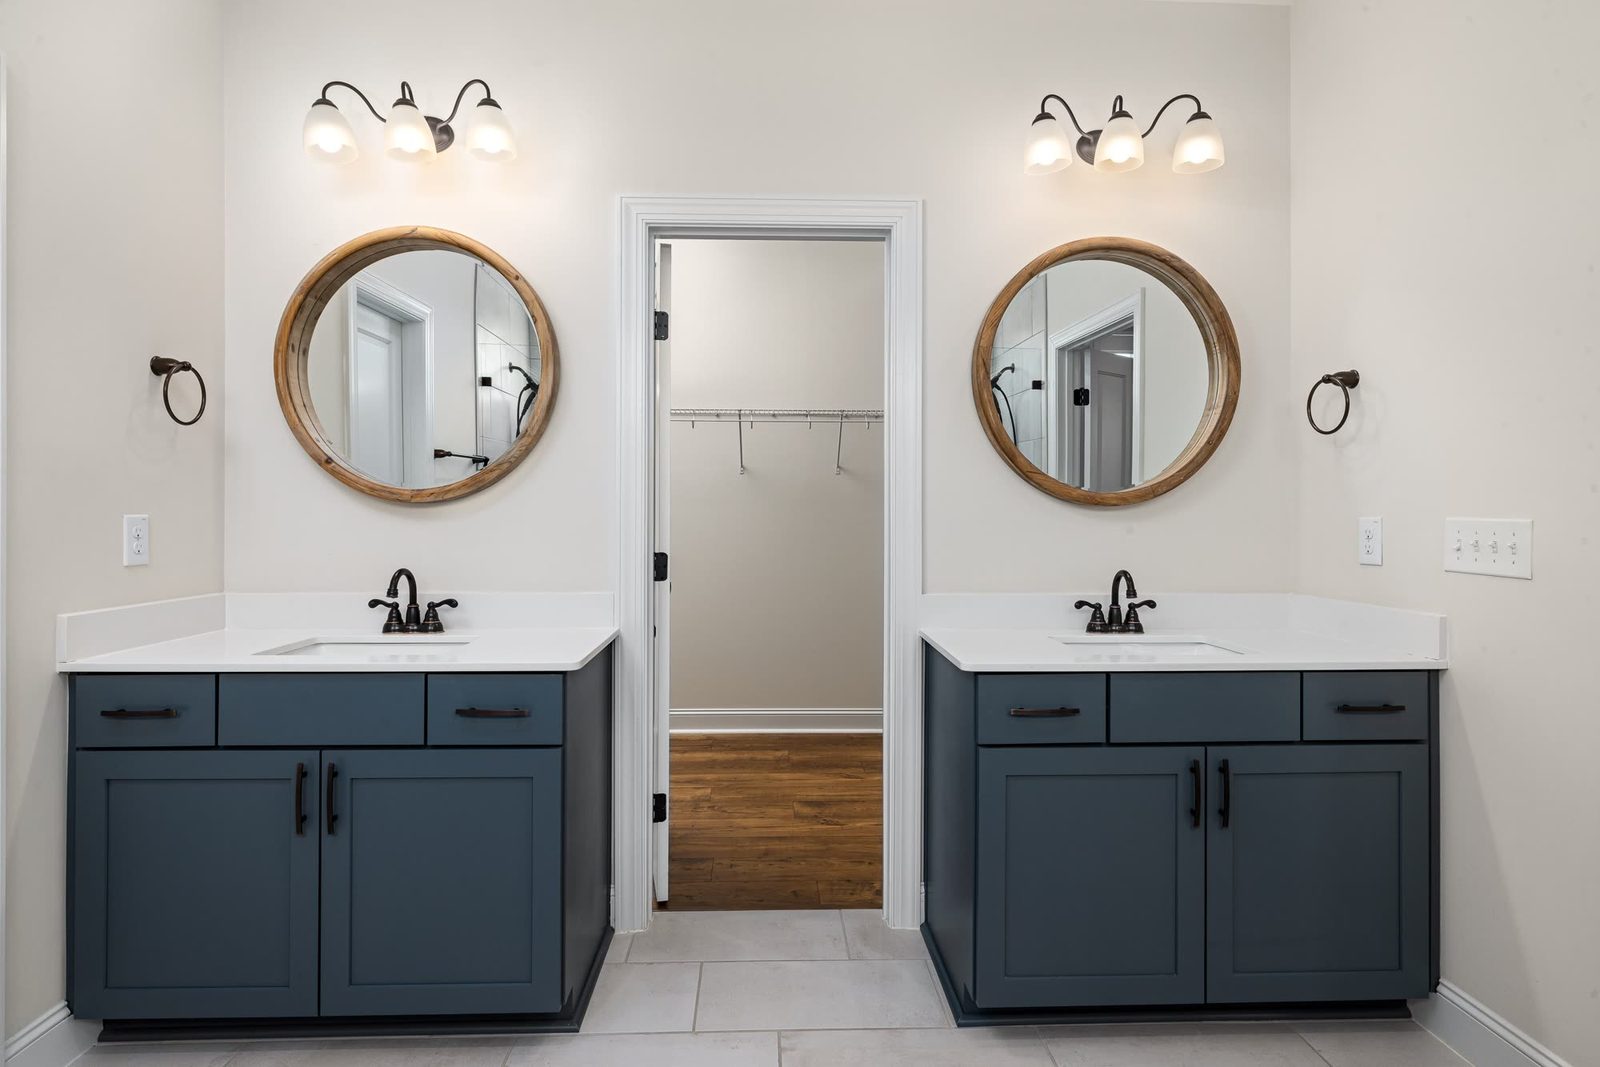
The planning you can do on your own
The part you can absolutely do yourself is the planning. Get measurements from at least two contractors. Spend time at showrooms looking at edge profiles and backsplash coordination. Talk to three people who've had countertops installed in the last two years. Read through the materials guides on stone supplier websites so you understand the difference between honed and polished finishes.
Build your own timeline backward from the completion date. Research what other work (backsplash, painting, cabinet hardware) needs to happen before or after the countertop delivery. Look at your sink style and make sure it coordinates with your edge profile choice—undermount sinks and certain edge profiles create beautiful lines, while surface-mounted sinks on decorative edges can look awkward.
Document everything as you go. Take photos of your existing countertops, your cabinet layout, your sink position. Email your questions to the fabricator as you think of them, not all at once the day before templating. The more information the fabricator has before the template visit, the fewer surprises you get during installation. That's the DIY part that actually saves money and time.
What professional seaming looks like
One detail that surprises people is how visible a seam can be if it's not handled with precision. Professional fabricators use multiple techniques to minimize visibility and ensure the seam won't be a weak point.
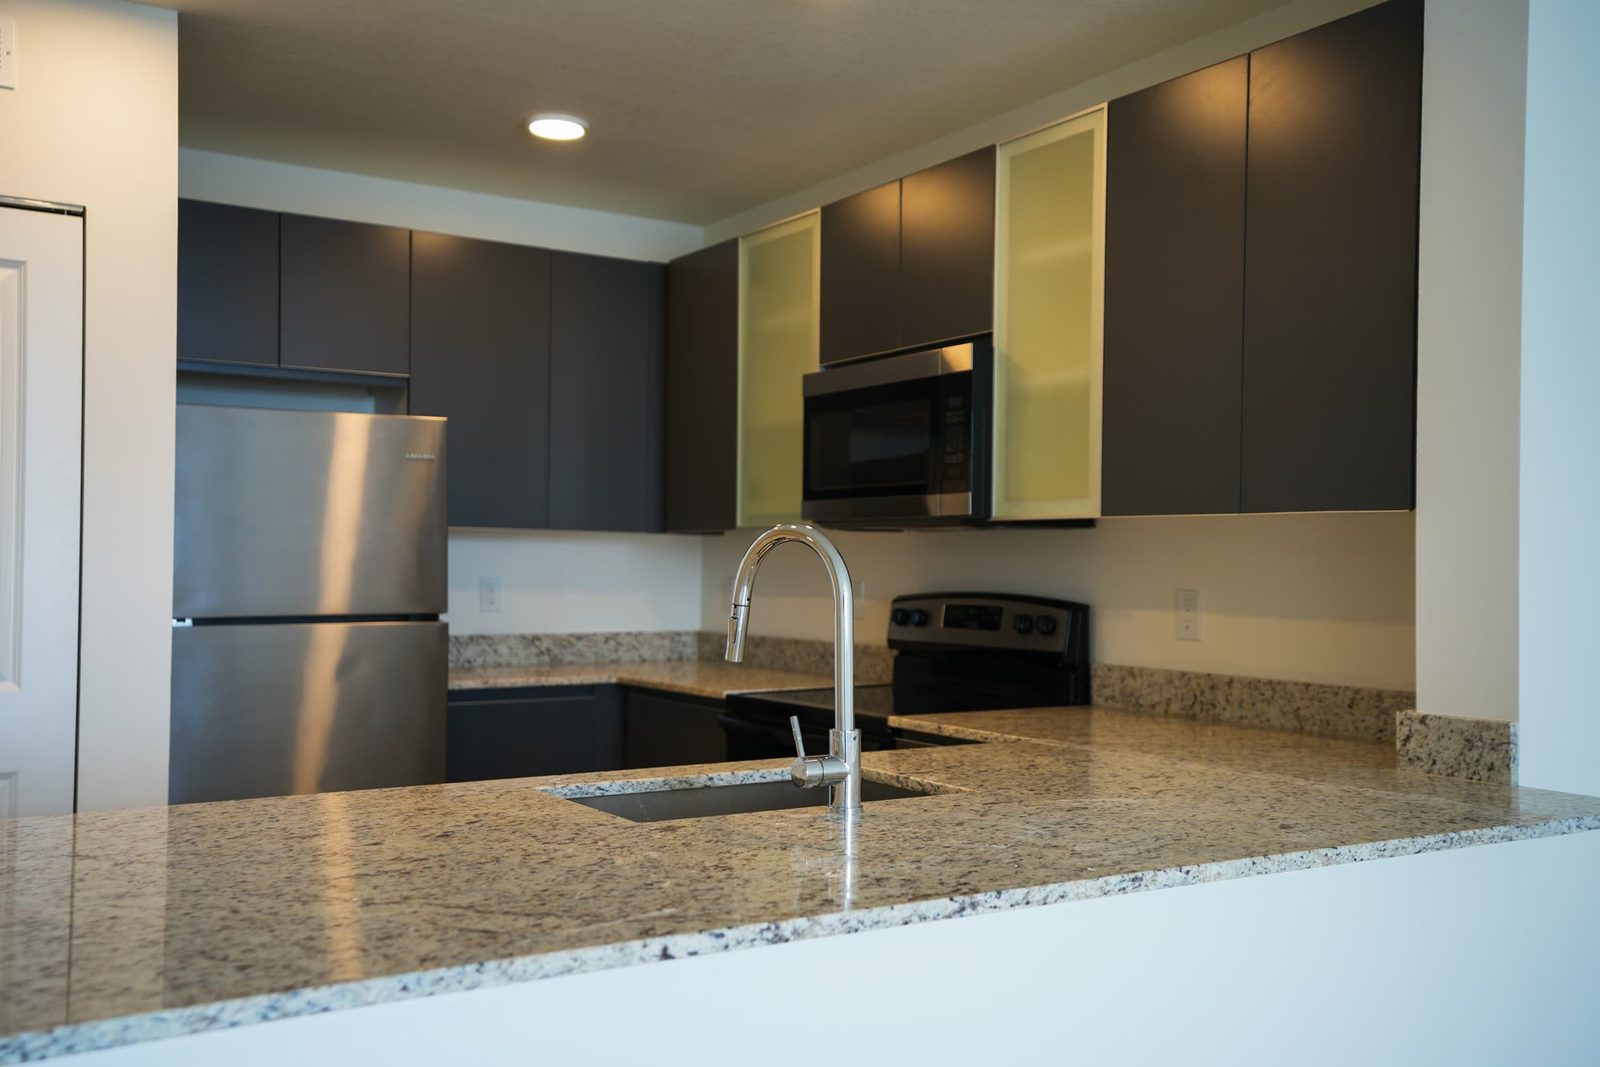
If seaming is part of your project, ask your fabricator for photos of previous work. Look for color match, vein alignment, and edge consistency across the seam. These details matter because a seam is the first place a countertop shows wear, and a poor seam can become a problem within months if the fabricator didn't take time to get it right the first time.